Pages

Showing posts with label mixing colors. Show all posts

Tuesday, January 29, 2013

3rd Grade - Collaborative Group Painting


Third grader: "Mrs.C , Why are we painting these?"
Mrs.C:  "Because it's fun.  Sometimes you need to do things just because it's fun!"  :)

My third grades have been finishing up their One Point Perspective pictures.  Some classes are done and some were trying to get finished up.  Instead of diving right into the next project before all the classes were done, I decided to have my third grades work on some collaborative  paintings.  As second graders these kids were great at working in small groups on large painting projects.  The first three classes last Thursday started by painting in four large panels of bulletin board paper.  One had circles, one had squares, one had ovals and the last had triangles.  I gave them blue, purple and white for the shapes in two of the panels and orange, red and white for the other two.

They painted in the shapes with one group of colors and switched the colors for the background.  At the end of the day we hung them up to dry and I contemplated what to do next with them.

This afternoon when my next group of thirds came in, I had them working on one project at their tables and called them back four at a time to paint if they wanted to.  Most of the kids helped with the paintings.  Maybe 5 or 6 students out of four classes opted not to paint and just worked on their drawings they were doing at their tables. 


I started them off outlining all the shapes in black, (still thinking about our next creative move) when one of the kids said; "Can I outline the outline?"  "Sure, why not!"  and so the design was born!  The kids continued to paint around the shapes, stopping and starting as the lines touched one another.


Some kids remarked that the paintings started to look like sound waves and water ripples! Yeah!  Creative thought and observation!


Some of the kids commented that the squares look as though they were stacks of squares and we were looking down on them!


Here are the panels drying at the end of the day clipped to my supply shelves.  The kids helped me carry them over before I ran to bus duty.  (One more day of outside bus duty in the frigid cold!)


Things kept piling up on my paper cutter table while we were working!  We were painting at the table I normally use for storing the supplies we are using during the day.


 Ignore the messy shelves!  I would love a day just to re-organize my shelves!


Close up views... 


I think the circles and the triangles are my favorites...  Thursday morning when I am back at the 3-5 school I will look at them again and decide how I am going to display them in the hallway.

Sometimes the best things happen when you are just doing it for the joy of doing it!  (not for a grade, state standards, the curriculum, etc...  etc...  You know what I mean?!  :)  

Saturday, January 26, 2013

Monochromatic Colors and 2nd grade


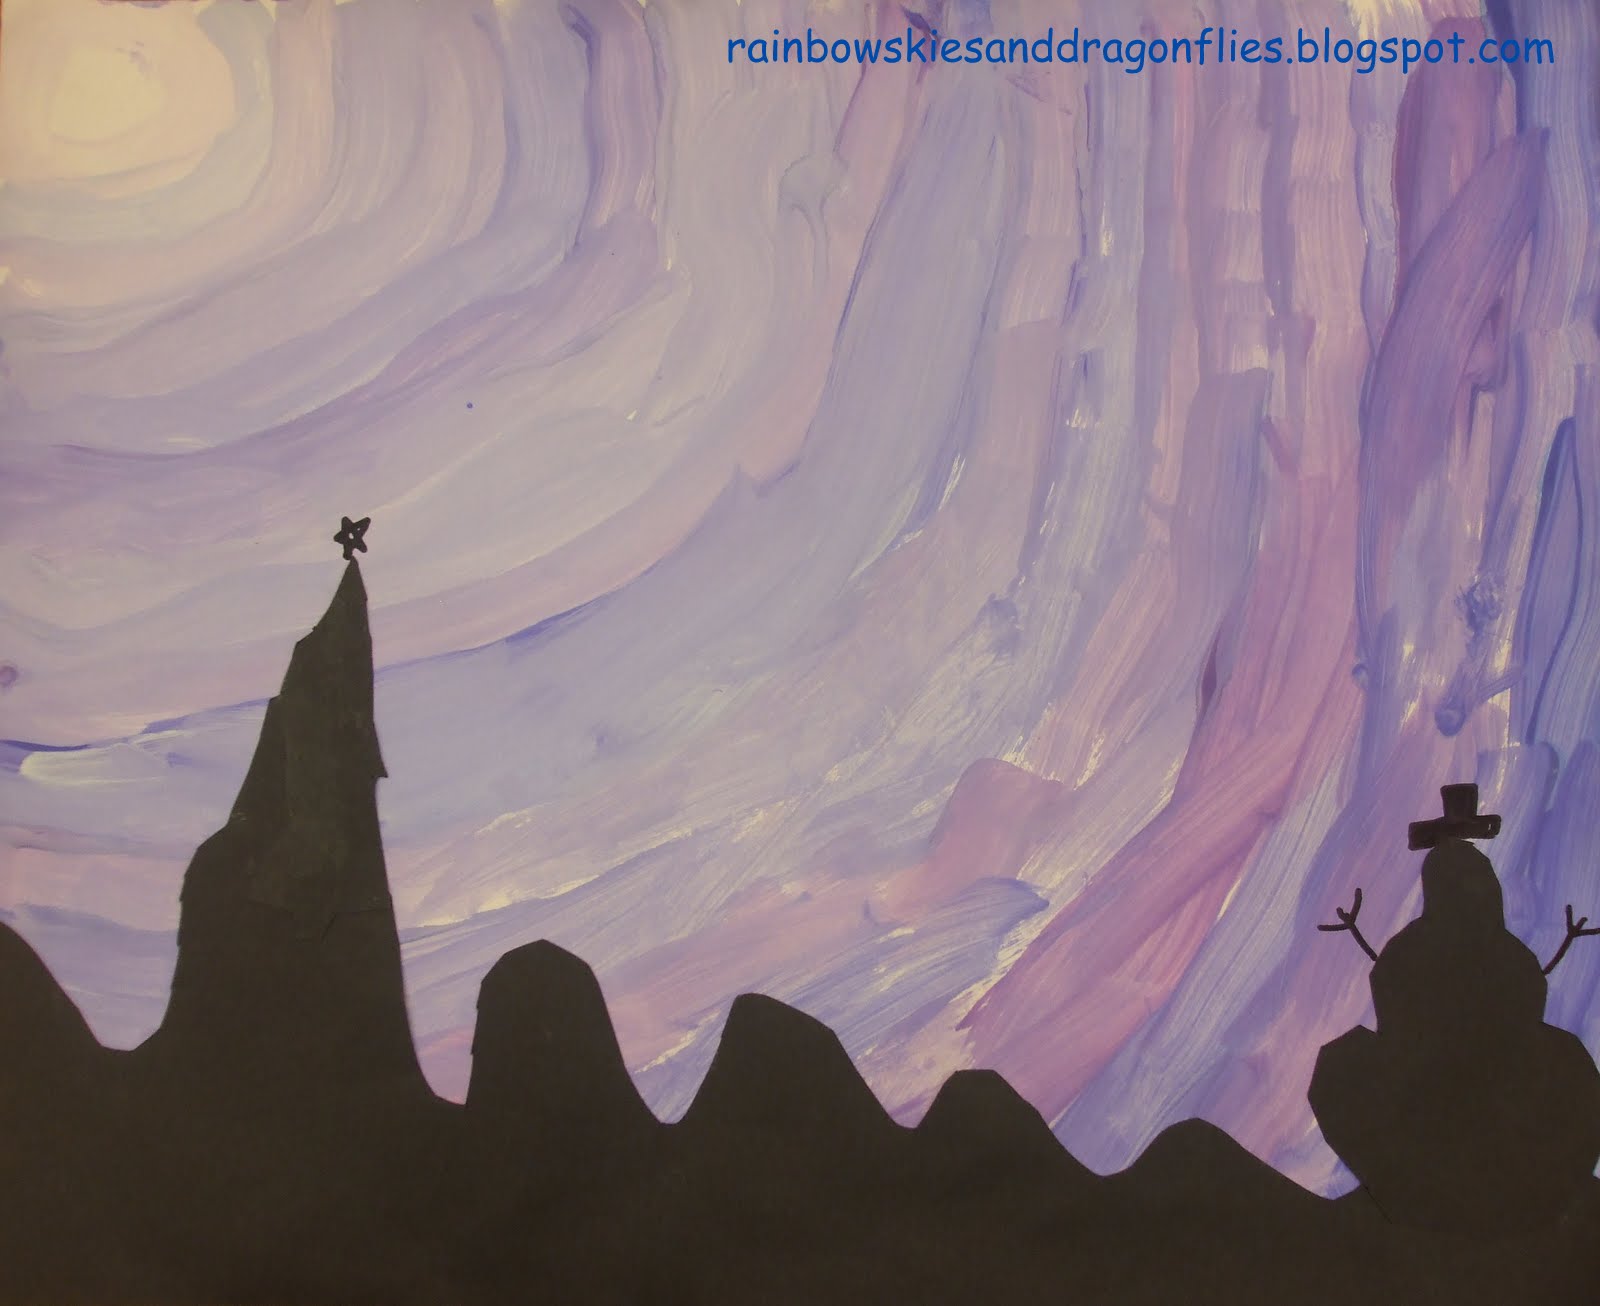
Before the Christmas break all my art classes were working with color.  Last year I taught this lesson with my 5th grades.  I wanted to try it with a different grade levels and compare results.  My 2nd grades were very excited when they saw my example and found out it was their next lesson!  We discussed Monochromatic Colors and showed them how to mix their colors with white a little bit at a time to gradually change their colors and let them loose to start mixing their own colors!

Each table got  some purple, blue and white paint to share.  I gave each student a quarter piece of a paper plate ( I sliced them up on the paper cutter into quarters) .  I showed the kids how to put some white onto their "palette" and slowly mix their colors as they go. After each color mix I had them paint a ring around their white moon.  (sorry I didn't take any pic's to show you how I organized the supplies, like I said it was before Christmas so things were a little hectic!)

Even though their color changes do not go from dark to light I think the lesson was very successful in the sense that they got the chance to experiment and discover with their colors.


During our second class the students created their winter silhouettes.  Since this was 2nd grade I changed how I would normally show the students how to draw and cut out a silhouette.   I presented them with some examples of a silhouette so they could get an idea of what they are and how they look in real life.

Each one of the kids got a strip of black paper that was the length of the painted background.  I also showed them how to cut the paper longways to create the strip for their ground.  Lastly, how to draw and cut out the other items they were going to place into their scene.  We drew the small details like our snow people's arms in black Sharpie since they were too tiny to cut without amputating them!

Once all the paintings were displayed on the display board in our front hallway, everyone expressed how stunning they were!


When it comes down to it, what I always want my students to get from a lesson more than anything else, is that feeling of Creative Pride.  There was a lot of creative pride with this lesson!  :)

I'm procrastinating, avoiding having to do grades...  700+ and comments for my modified students  due on-line Wednesday by 12AM.  I don't have to give grades to my Kinders, thank God!  I'll get to it before the end of the weekend.  My deadline for myself is to have it done before I sit down to watch Downton Abbey tomorrow night.  I'm obssessd with that show!  Anyone else?


Thursday, October 18, 2012

Color Mixing - 1st Grade


It's Fall people!  When you teach elementary school it is time for lots of pumpkins!  Kids just LOVE pumpkins!  Who doesn't love pumpkins, right?!  The other week while checking out the blogs I saw this post by Patty at Deep Space Sparkle.  A simple but beautiful lesson using pumpkins!  Pure inspiration!  I started my first grades on their pumpkins the next day!


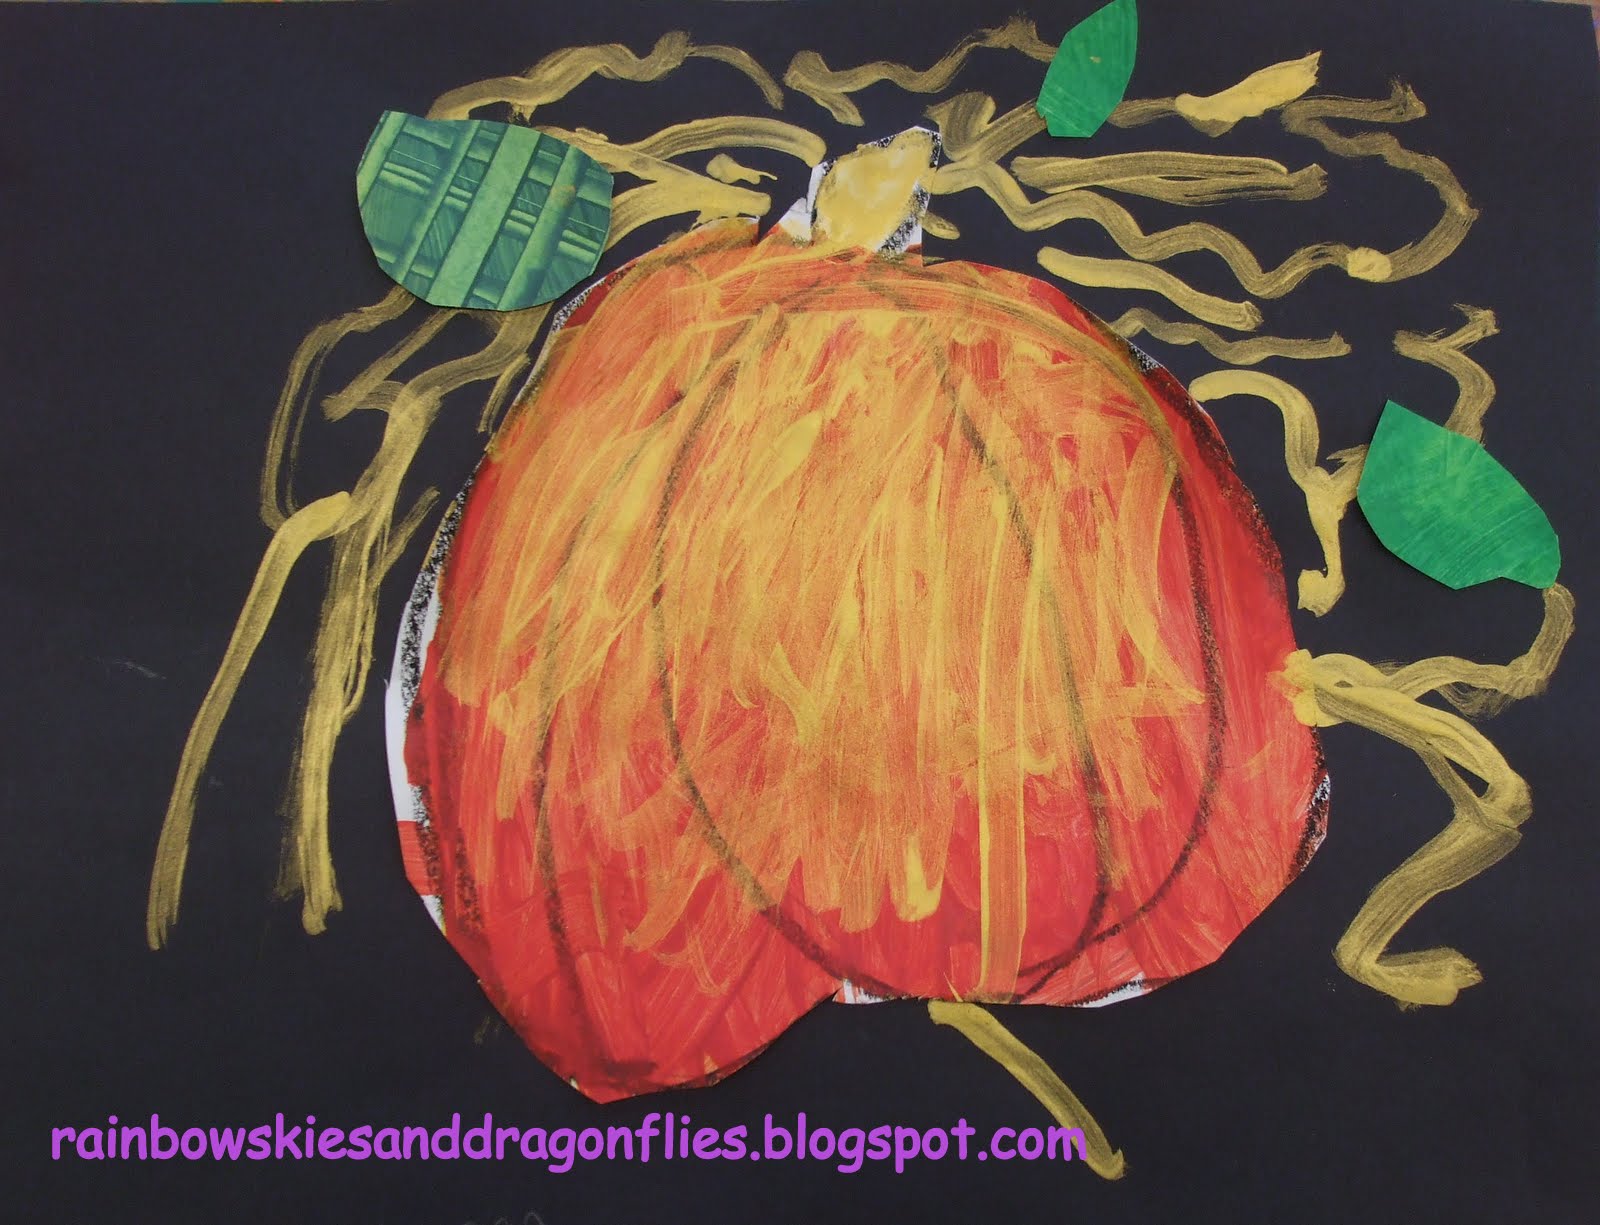
My students started by drawing their pumpkins in pencil using the directions Patty gave for drawing her Starlight Pumpkins.  They traced their pencil lines with black oil pastel and set to work painting!

I gave them red and yellow tempera paint and demonstrated how to mix the colors on their pumpkins to get orange.  When the kids finished painting, they put them on the drying rack to dry.

Previous to the second class, I painted some large sheets of tag board green and gave them different textures.  I cut them up into small pieces that the students cut their leaves from.


 Love the scraped texture on this one

I cut this plastic lid to make the scraper

Overlapping swirls
Made the swirls with this small scrubbie from the dollar store


I cut them up into smaller pieces the students cut their leaves from.  I also gave them gold paint for their vines, stems and to add a little to their pumpkins. They LOVED the gold paint!  Here are some of the finished pieces...  Have a great weekend and go pick some pumpkins!