Pages

Showing posts with label pumpkins. Show all posts

Wednesday, October 23, 2013

Pumpkin Forms and Value - 5th Grade


My 5th grades have been hard at work! We have been working on form and value for the past few classes.   They drew overlapping pumpkin shaped forms that we traced in oil pastel, orange at the bottom, yellow in the middle and peach at the top.


We used watercolor to paint in the pumpkins using different values of orange, red-orange at the bottom, orange in the middle and yellow-orange at the top.


One class was spent on painting the backgrounds. The kids used tints and shades of blue to paint them in.  One of the students asked why we were painting them blue and not some other color...I asked the class to think about what we have learned about color in 4th grade... One of the students raised their hand and said I must have picked blue because it is the compliment of orange (yeah!)


After they were glued onto the blue background we all agreed that they looked like they were floating in a sea...I had the students brainstorm...what could we do to/add that would finish their pictures?  The majority agreed that it was necessary to add something to ground their pumpkins.
Construction paper crayons in dark and light green were used to create grass, brown for the vines. As the students were working I grabbed some gold paint and had them use it to trace the vines, the brown was hard to see.  They also used it to add some gold to the grass and highlights to the pumpkins, Tah Dah! The finished pieces are stunning! The kids are really proud of their hard work!


Thursday, October 18, 2012

Color Mixing - 1st Grade


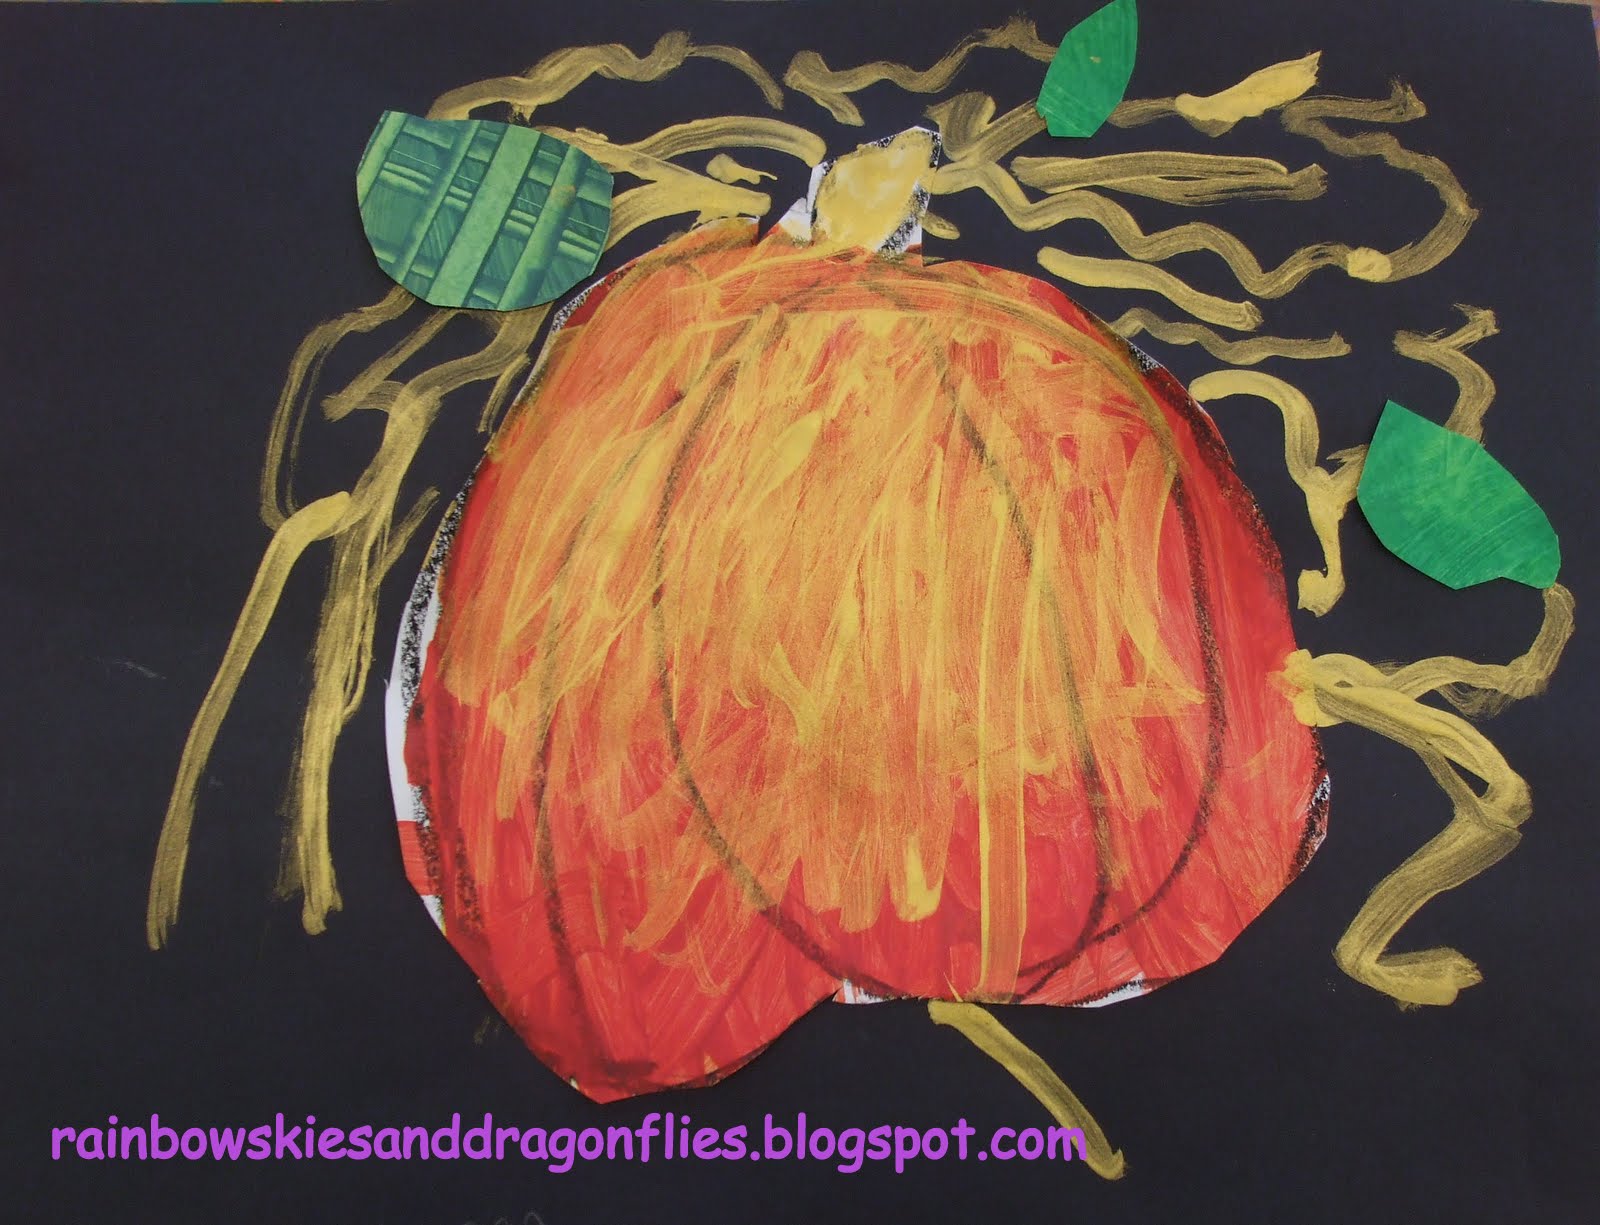
It's Fall people!  When you teach elementary school it is time for lots of pumpkins!  Kids just LOVE pumpkins!  Who doesn't love pumpkins, right?!  The other week while checking out the blogs I saw this post by Patty at Deep Space Sparkle.  A simple but beautiful lesson using pumpkins!  Pure inspiration!  I started my first grades on their pumpkins the next day!


My students started by drawing their pumpkins in pencil using the directions Patty gave for drawing her Starlight Pumpkins.  They traced their pencil lines with black oil pastel and set to work painting!

I gave them red and yellow tempera paint and demonstrated how to mix the colors on their pumpkins to get orange.  When the kids finished painting, they put them on the drying rack to dry.

Previous to the second class, I painted some large sheets of tag board green and gave them different textures.  I cut them up into small pieces that the students cut their leaves from.


 Love the scraped texture on this one

I cut this plastic lid to make the scraper

Overlapping swirls
Made the swirls with this small scrubbie from the dollar store


I cut them up into smaller pieces the students cut their leaves from.  I also gave them gold paint for their vines, stems and to add a little to their pumpkins. They LOVED the gold paint!  Here are some of the finished pieces...  Have a great weekend and go pick some pumpkins!                                                                                      


Friday, October 12, 2012

Color Wheel Pumpkins & Zentangle - 4th Grade


This lesson was inspired by this pin, I found on Pinterest some time ago.  I needed to do a color wheel lesson with my fourth grades but I wanted it to be something that would hold their interest.  Since it is Autumn and Halloween is just around the corner, I decided to go with pumpkins! 

I instructed the students to start by drawing six overlapping pumpkins.  Every time I was asked:  "Why do they have to overlap?"  In return said:  "Think about it."  They knew we were using the color wheel in order to paint them in.  Happily, there were a few students that quickly answered:  "Where the pumpkins/colors overlap we will get the tertiary colors, red-orange, blue-green, etc..."


The first steps looked something like this.  I reminded the students the major objective was to keep there colors in order of the color wheel starting with red.  They outlined their drawing with black Sharpie marker before painting.


If they had more than six pumpkins, they were to go full circle and repeat their colors from red until they were out of pumpkins to paint.  It took one 30 minute class to draw out, trace and paint their pumpkins.  Very few students needed extra painting time the next class.  The students kept asking:  "Can we paint the background?"  Mind you they are used to me always saying:  "Paint everything!"  "No, we are not painting the backgrounds this time."  I didn't know what I wanted to do with the backgrounds at that time.  Something that would give it some pizzazz!  Something that would make you say:  "Wow!"  When you looked at them.  So I thought about it all week.  I wanted a background element that would contrast with the colorful pumpkins.  I came across this pin.

That was my "AH-HAH " moment!  Zentangle the background with black Sharpie!  The black and white designs would be the perfect companion to the colorful, simple lines of the pumpkins!  When the students saw the completed sample they were very excited to start their own designs!  All the classes are doing an excellent job and loving the end results! Here are a few finished and in progress pieces from this week!